Cosa mi serve per iniziare a stampare in 3D?


5 Steps to Start 3D Printing
Choose the Best 3D Printer
There are three types of 3d printers: resin, powder, and filament.
Each of these has different features but the most common and versatile technology that allows you to experiment using different materials is the filament, FDM or FFF printer.
On the market there are several models of FDM printers, the cheapest ones have a cost starting from 150 € and are definitely suitable for those who want to start printing with a 3d printer for the hobby and become a maker. But FDM printers can also reach four-digit amounts on professional machines suitable for the industrial world.
The best 3D printers that allow versatile uses have a print volume of 20x20x20 cm, a heated bed and an extruder that reaches at least 250° C temperature.
With these features, you'll be able to experiment with a wide range of materials to create reliable prints, whether you're a hobbyist or a professional.
The 3d model
Once you've purchased your 3d printer you'll be dying to start using it, the next step you need to take is to have a 3d model to print.
There are two solutions now: download a 3d model or model a three-dimensional object with CAD software.
If you are not an expert in 3D modeling, then you should know that there are online platforms and repositories where designers from all over the world share their ready-to-print files. The most popular ones are:
- Thingiverse
- Cults3d
- Myminifactory
- Thangs
- CgTrader
If, on the other hand, you have some experience in the world of design and want to try modeling your object from scratch, you can use specific software (CAD) that will help you in the creation of the three-dimensional file.
There are a lot of CAD programs, some of the most common are:
- Autodesk Fusion 360 (free for students e hobbists)
- Dassault Systèmes Solidworks (paid)
- Blender (free and open-source)
- Pixologic Zbrush (paid)
These programs are very complete and feature-rich, but they are not very easy to use.
That's why Autodesk created Tinkercad. A free, online program to allow even those without experience to model in 3D with precision.
We recommend that you start with the dozens of tutorials found online to get the hang of this 3D software.
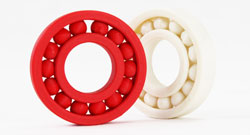
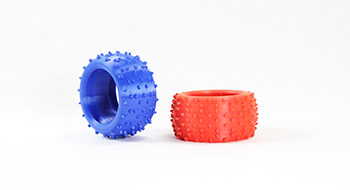
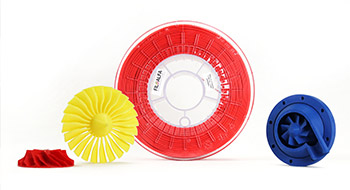
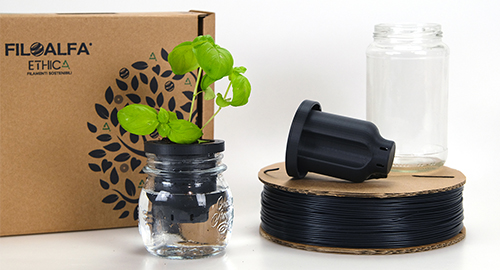
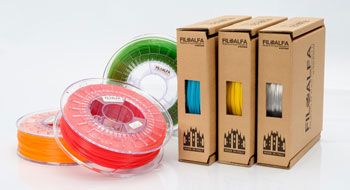
Choose the filament for 3d printing
Once your printer and 3d model are ready, all that's left is to choose the perfect material for your 3d printing.
Our filaments range from technical materials suitable for professional prints to more aesthetic and easy-to-print filaments suitable for makers and hobbyists.
You can find all FILOALFA® 3d printing filaments at this link:
DISCOVER THE FILAMENTS
Once you've found the material that's right for you, look at its technical specifications and the printing parameters indicated on the page of each material. This will also help you to better set up your printer.
Create the Gcode
Once you have chosen the 3d model to be printed and the material you want to use, the next step is to convert your file into a Gcode, the instructions understandable by the 3d printer.
To do this you just need to have software for slicing, that is a program that "slices" horizontally the 3d model in many layers and generates a list of instructions and commands for the printer.
Through the slicer you will have to define much important information: some related to the chosen filament as the nozzle and plate temperature, some related to your 3d model as the filling and the creation of any supports for undercuts and overhang areas.
The most common slicers are:
- Ultimaker Cura (free)
- Ideamaker (free)
- Simplify3d (paid)
- Prusaslicer (free)
Some printers have their own proprietary slicer or offer preset profiles for the most common slicers on the market to help you configure the printing parameters.
All slicers generate a Gcode that you just need to communicate to the printer to start your first print. To do this you can connect a PC with a USB cable to your printer, use an SD card, or send the Gcode to the printer via wifi.
Start 3d printing
If you've made it this far, it means you're ready for your first print.
If your first attempt fails, don't worry, we've all been there. You can always adjust the parameters and reprint, we will remain at your side to support you in all your creations.
If you have any doubts about the extrusion temperature, we suggest this guide to understand how to find the correct temperature for a filament.
If you need more tips, follow FILOALFA®'s tips and tricks to receive advice and updates on the world of 3D printing.
We wish you a lot of fun!