3d printing build plate adhesion
How to make a filament stick to the build plate
When you print a new material, one of the first questions you ask yourself is: "How do I get the print to adhere to the plate?"
Apart from the more common PLA and PETG, which only occasionally cause problems, there are also some tough filaments such as ABS and Nylon.
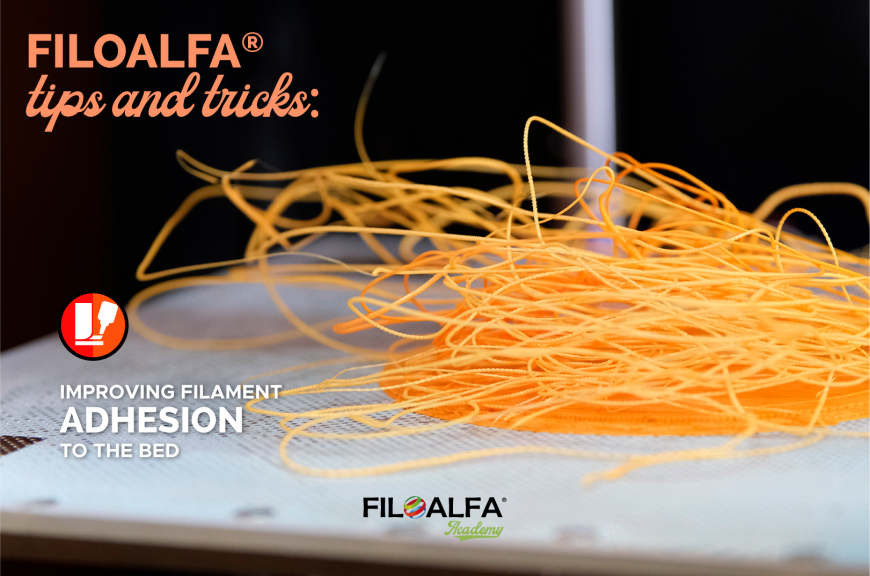
So what should you do if the filament does not adhere well to the bed or if the corners are raised when printing?
Here is a short guide to adhesion on the printing surface.
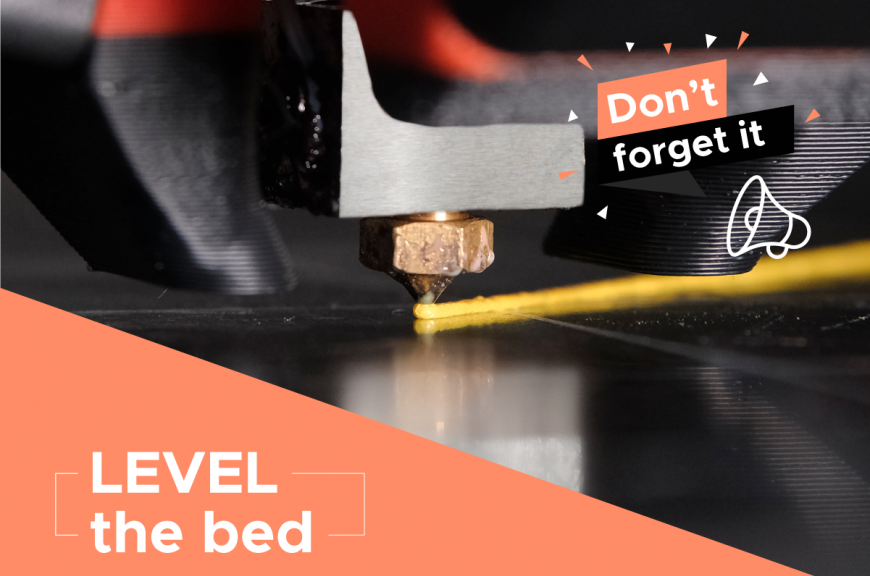
1. Check that you have leveled the build plane
Often the most effective solution is also the most obvious: level the bed. It can happen that by detaching a print, cleaning the plate, or simply heating the plate to a different temperature than before, the plate loses its perfect alignment.
If you don't have a self-leveling sensor like the Bltouch, the first thing to do is to check that the plate is perfectly level. To do this you can follow the standard procedure of your printer, the one provided by the slicer, or manually move the extruder block to different points of the plate and check the alignment.
Remember to warm up the nozzle and the bed before proceeding with leveling.
You can also use the file that FILOALFA® has designed to help you with calibration:
2. Clean the build surface
PLA, then PETG, then TPU, and then PLA again, those who like to print with different materials sometimes have adhesion problems even with the easiest filaments to print like PLA and PETG. Why is this?
It can happen that when the object is removed from the plane, it leaves a slight residual layer of material which prevents the adhesion of the new print.
You would never think that just touching the surface with your hands or dust could be two causes that prevent the correct adhesion of the piece, but it is true, every residue that we leave on the printing surface alters the adhesion.
For this reason, for every 2-3 prints we suggest you clean the board with a damp cloth, or in case of more stubborn residues, you can wet it with pure ethyl alcohol or acetone.
3. Use an adhesive
After cleaning the bed, you can proceed to apply an adhesive to improve the "grip" of the object on the worktop.
There are several products you can use, from the more hobbyist like glue sticks or hairspray (only strong fixing :D) to the more professional like Magigoo, Dimafix, or 3d Printer Glue.
Whatever adhesive you use, make sure you use only a light layer: overdosing can make the difference between a perfectly flat bottomed vase and a bottomless one!
4. Set the slicer correctly
If you still can't get your piece to stick, check the parameters of your slicer.
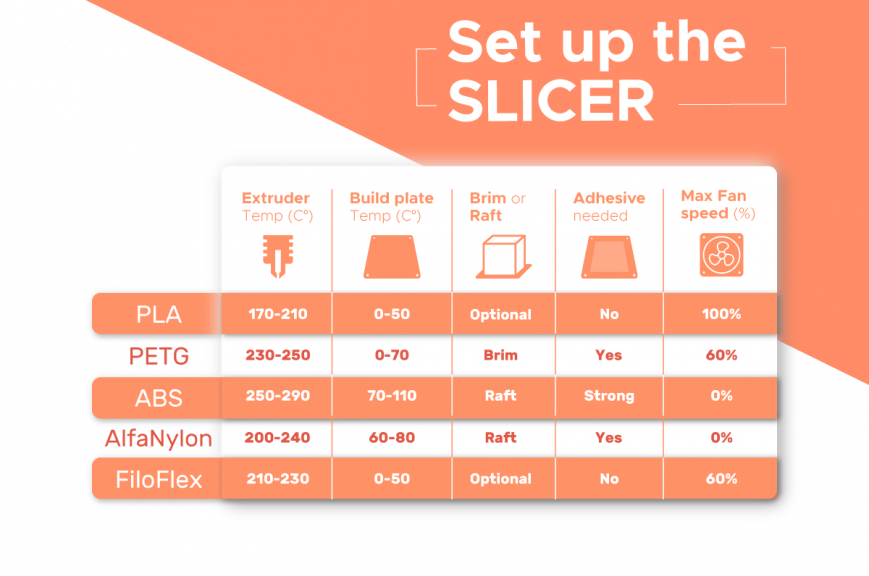
First of all, make sure that you have correctly set the temperature of the nozzle and the printing plate: if PLA can be printed with a cold plate, this is not the case for ABS, which needs a plate of at least 90°C.
If your printer has difficulty reaching high temperatures with the print bed and you cannot print normal ABS, you can use our ABSpeciale: a technical material with a special formulation to reduce warping and shrinkage.
DISCOVER ABSPECIALE HERE
In FILOALFA® we provide the main parameters for each filament, to find the perfect printing temperature, start from the highest parameter and then gradually go down until you find the correct value.
The second parameter to check is the ventilation of the piece: it is always better to keep the fans off for the first 2-3 layers, in order to allow the natural cooling of the material and to avoid tensions that cause warping and other defects. For the same reason, it is advisable to use a lower printing speed for the first layer.
All slicers have functions to help the adhesion of the pieces and also of the supports in direct contact with the plane.
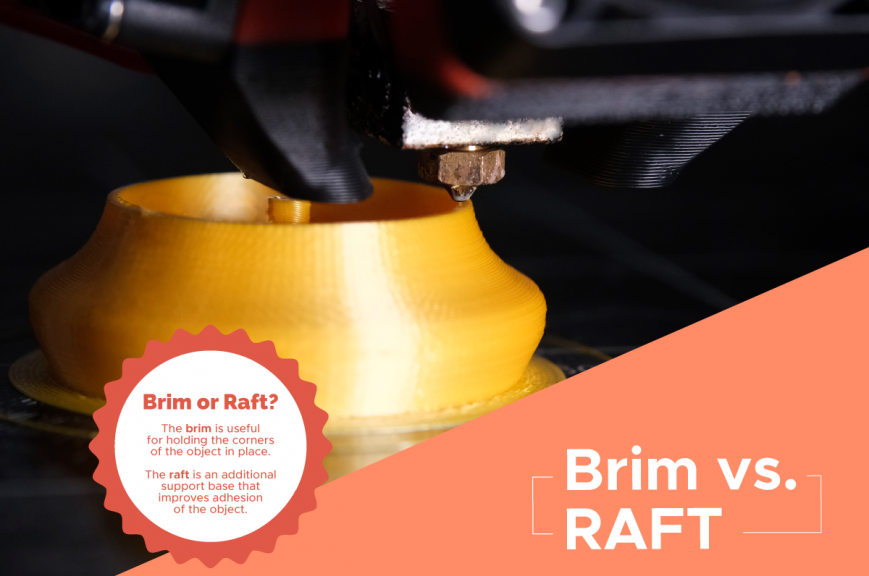
If you want to improve the adhesion of the print to the plane, set the brim, which is a series of perimeters that widen the support base of the piece on the plane, improving adhesion especially in the corners.
If this is not enough, you can also set the raft: a platform that will serve as an enlarged base on which to build the object. This option, however, besides lengthening the printing time, consumes material, so we recommend using it only when strictly necessary.
5. Vary the adhesion surface
If all the previous points have not brought results, check the compatibility of the surface of your printer's buildplate with the material you want to print.
There are many different printing surfaces: glass, steel, Buildtak, PEI and many others, and some filaments may have incompatibilities with the material of the surface of the plane.
In this case, you can try to change the surface material or, if you can't, cover it with special adhesive tape: Kapton tape, blue tape, or American tape can be good allies in keeping the first layers of a print glued down.


