Filoalfa Academy: Supports part 2
Supports: everything you need to know.
Part 2
How many times have you thrown out an object mid-print because the filament started to run over an overhanging part? Have you ever found a nice lump of spaghetti instead of the object you were printing?
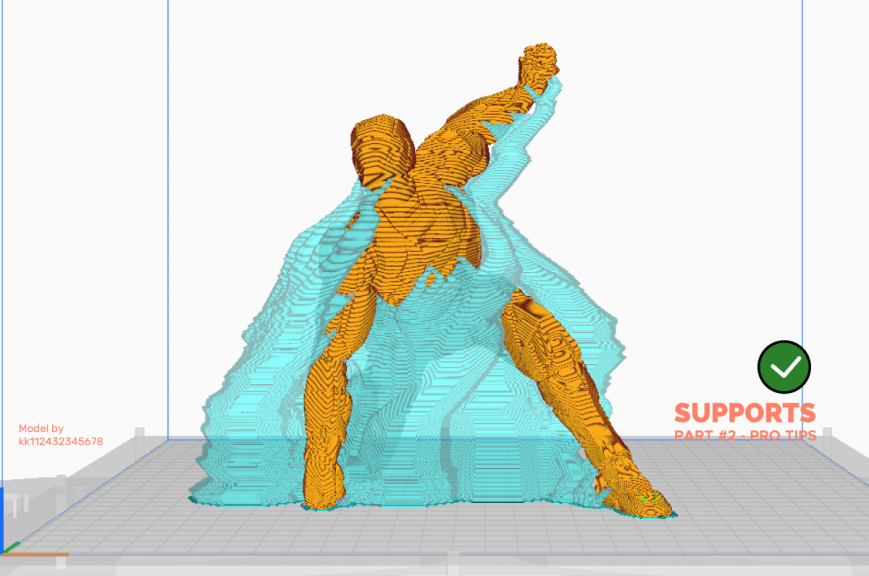
Almost always this happens because you forgot to input supports from the slicer. In fact, supports are one of the main topics in filament 3d printing, because the difference between a successful print and (often) a total failure depends on them.
This is why the FILOALFA® Academy wanted to dedicate a very comprehensive article to this very important topic. Below we will talk about advanced techniques for support dedicated to those who already chew 3d printing, but if you think you need to start over you can start with part 1.
When to place supports - Overhang testing
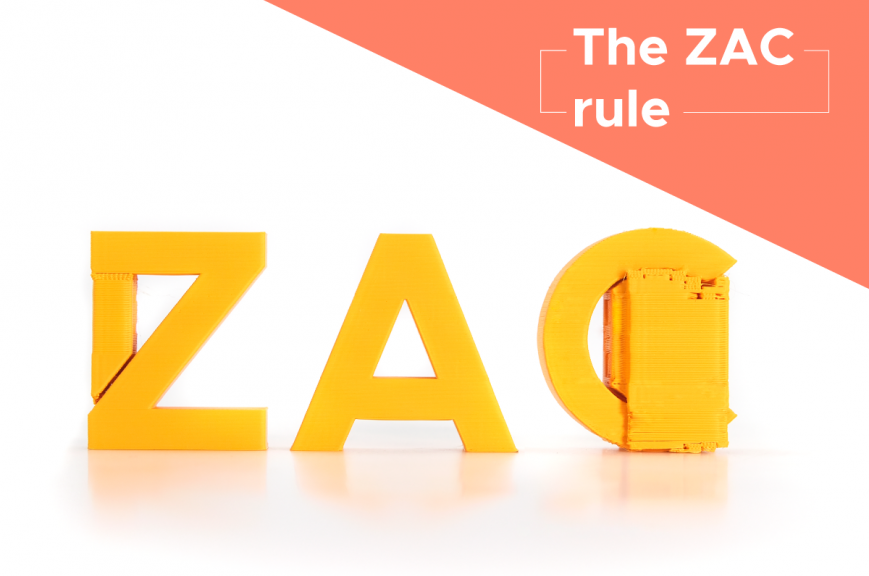
In the previous episode, we talked about the ZAC rule, which is how to figure out where to place supports in the part on a theoretical level.
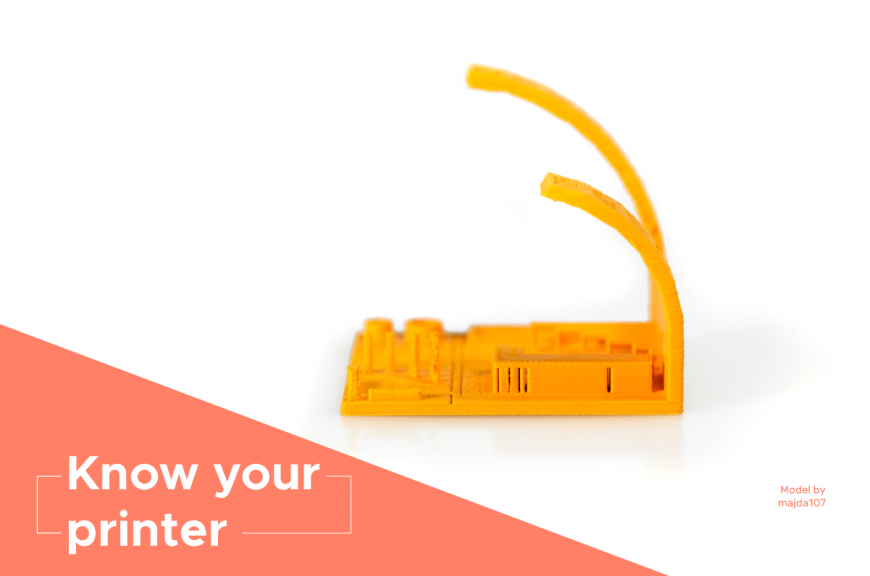
However, every printer is made in its own way, and factors such as the power of the cooling fans or the shape of the nozzle and vents can affect the ability to handle bridges and overhangs.
The important thing, therefore, is to know your printer by calibrating it as best you can. Online you can find a lot of tests that allow you to understand the limits of your printer, we recommend that you print one for each of the filaments you use, it will come in very handy in setting the slicer correctly.
We have curated for you a collection of all-in-one print tests that will allow you to calibrate both the print overhang and the temperatures, as well as retraction, stringing and oozing parameters.
Pro support settings
Surely you've done some printing with supports before, and maybe you even know well where to place them, but maybe you've never heard of tree supports and support patterns, or the retaining sheath.
Well, knowing these techniques can save you time and money.
Tree supports
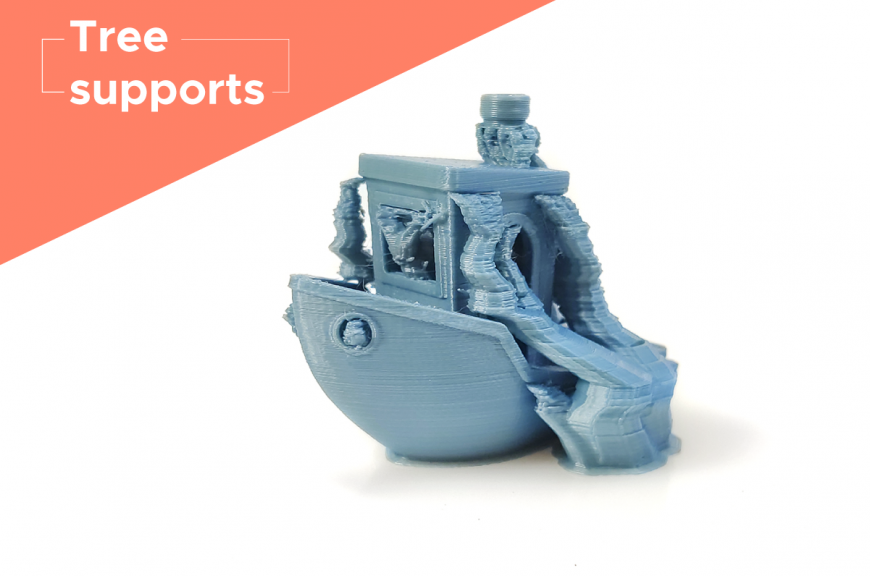
Tree supports were adapted from SLA 3d printing, and since then more and more slicers have allowed their implementation. This type of support is particularly suitable for curved and very jagged surfaces.
In fact, tree supports grow out from the printing plane like the trunk of a tree and branch out to the surfaces to be supported, tapering more and more. The support leaves no marks on the outer surface because the contact surface with the part is very narrow, which makes them incredibly easy to remove and quick to print.
Shaft supports, however, are not suitable for supporting large flat surfaces, as they do not provide an adequate support base. In addition, generating them takes longer for the computer processor to process than standard supports, so it can be difficult to process complex filaments.
Support patterns
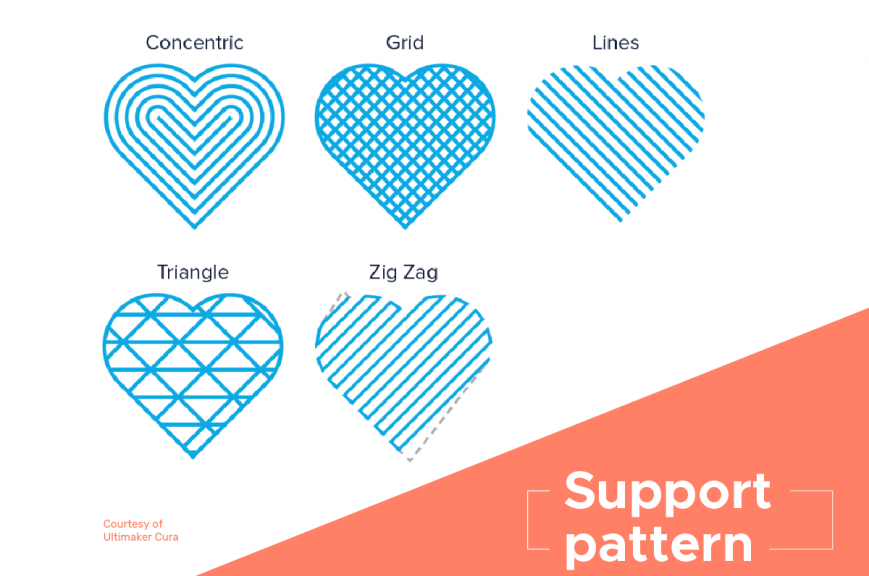
If you find that your supports are too fragile or too difficult to remove, you can also act on the structure of the support. Many slicers, such as Cura, allow you to choose the pattern or angle at which supports are made. By default, the supports follow a Zig Zag pattern, with a continuous line angled at 45° that follows the surface, offering the right balance between strength and ease of removal. However, you can also select other patterns, such as concentric, line or grid fill, to make them easier to remove or more solid, or even leave fewer marks on the surface.
If you find that supports have holes or have stringing, you can also enable sheathing around the support, which is a "containment perimeter" that encloses all supports, making them more reliable, but also more difficult to remove.
Support base and XY distance
Another option for making supports reliable is to introduce an increased base, which can be like a brim if the support rests on the bed, or composed of a few solid layers if the support starts from the surface of the object.
Se invece il tuo obiettivo è rendere più facile la rimozione del supporto o ridurre il numero di supporti posizionati automaticamente, puoi agire sul settaggio della distanza xy del supporto. Per regolarti, parti da una distanza di 1,5 mm, questo allontanerà le colonne di supporto dalla superficie esterna dell’oggetto.
Other tricks: lower the layer height and print speed
Keep in mind that supports are subject to the same rules as 3d printing of objects, so by lowering or raising the layer height and increasing or decreasing the printing speed you can adjust their definition and have more accuracy or speed in printing.


