Filoalfa Academy: how to get perfect bridges
How to get perfect 3d printed bridges
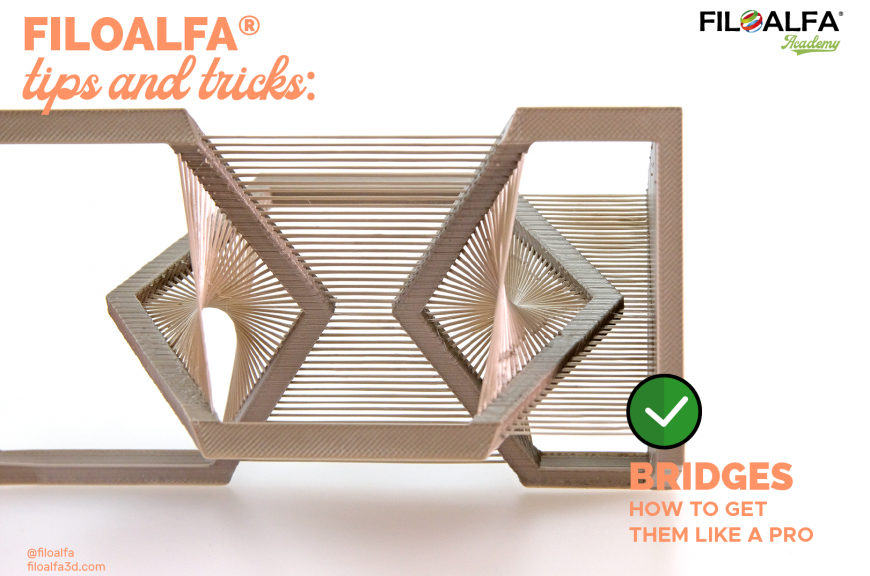
Bridging in 3d printing refers to the function that adjusts the printing of material in the gap between two distant surfaces. For this reason, the better our slicer settings are calibrated, the wider the "jump" the printer will be able to overcome without the need for support.
In fact, it often happens that we have to print a model with overhanging walls and small voids where we already know that we should place supports for the successful printing, but we also know that removing these supports will be a problem.
For these situations, we can choose to ignore the supports and print directly into the void a connecting bridge which may be up to 15-20 cm wide.
Temperature
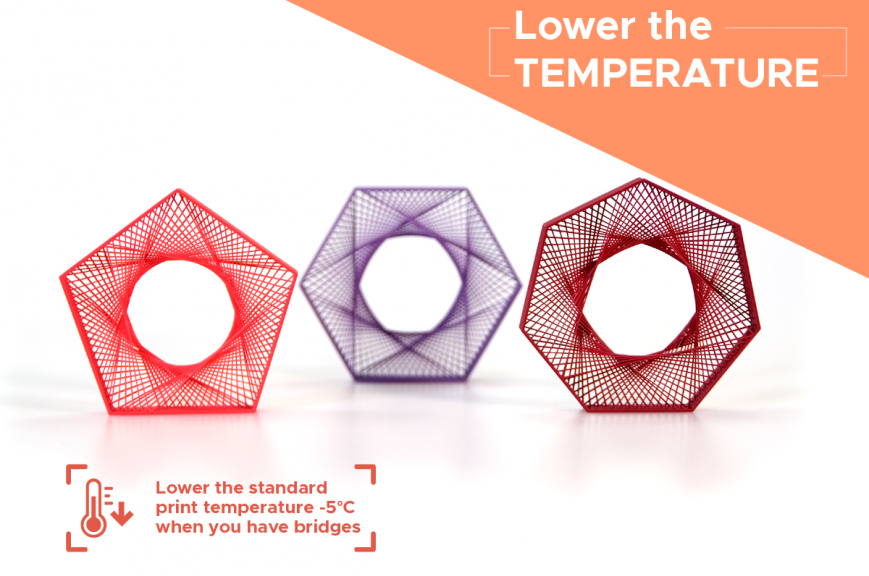
The printing temperature plays a key role in the success of bridges: in fact, too high a temperature will cause the filament to fail to solidify fast enough and fall into the vacuum. It is therefore best to reduce the printing temperature by 5-10° to facilitate solidification of the filament in mid-air in the case of very large bridges.
Each printer has its own calibrations so we recommend you do calibration tests. If you want to find the perfect printing temperature you can refer to this FILOALFA® Academy article.
You can also download the FILOALFA® Universal Temp Tower file on Thingiverse to best calibrate your printer between temperatures, stringing, bridging, and many other features in one file.
Cooling
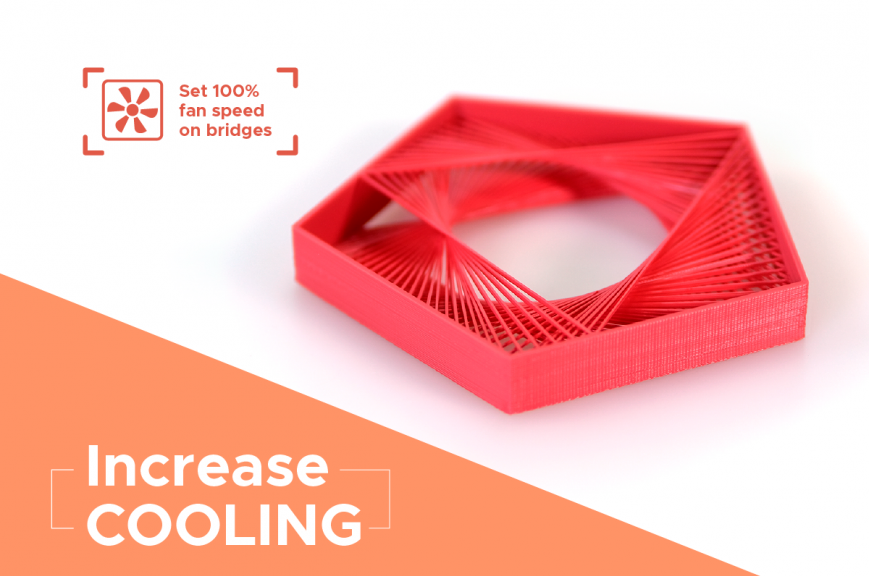
The goal of a successful bridge is to have the material solidify in place in midair, so the second most important factor is cooling. A steady flow of air just below the nozzle ensures that the newly extruded material is cooled, locking it in place.
For this reason, we recommend that you set the bridge cooling value to 100 percent in your favorite slicer, and check if the printer can handle the bridges properly.
Be careful: a high fan speed can lead to layer delamination and warping. So make sure that the speed increase relates only to bridge printing, or lower the cooling in steps of 5% until you find the perfect balance.
Speed
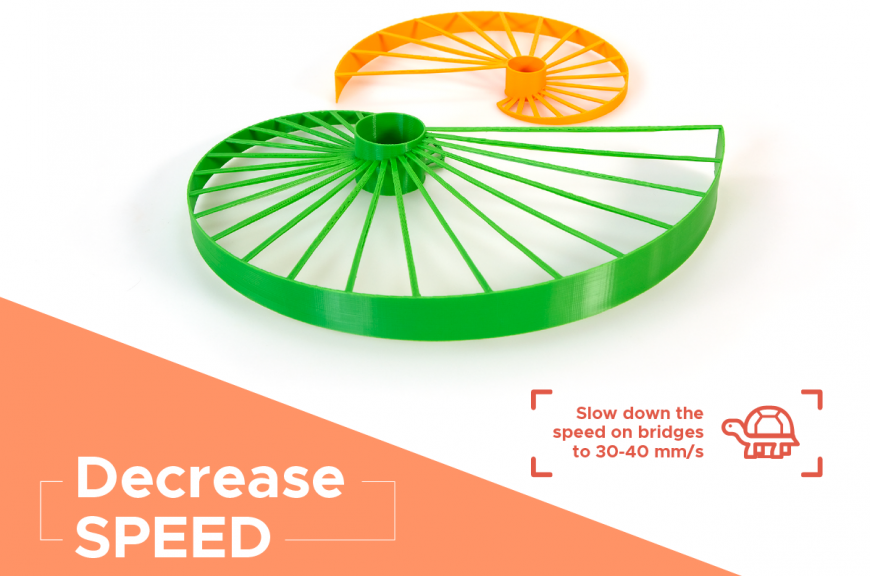
Printing speed is another factor that greatly affects the quality of bridges: if the nozzle is moving too slowly, the filament will fall down. Conversely, if the speed is too high, the filament will be stretched by the movement, resulting in brittle first layers of the bridge that will not support the upper layers.
So our advice is to start with an average speed of 30-40 mm/s and proceed by raising or lowering 10 mm/s at a time until you find the perfect speed for the filament.
Other suggestions
If all these methods do not bring results, you may need to upgrade your cooling system. Search Thingiverse for a better air conveyor for your printer by looking for the words "fan duct" and the model of your printer; probably someone in your same situation has modeled a better part than the stock one.
Alternatively, turn the model over. This may seem like a trivial tip, but often the standard orientation of models is not the best, which is why we can save hours of printing and kilograms of filament by simply printing the model leaning to one side or upside down.
Models
All the models showed in this article are available here:
Stiffened Polygons by Alec Singh
Tensegrity hexagons by Alec Singh


