FIloalfa Academy: Supports part 1
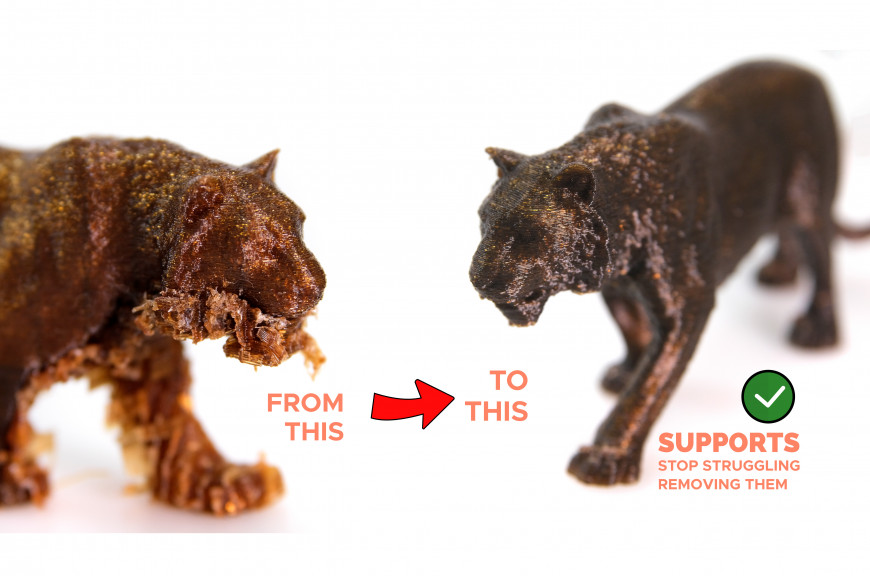
Supports: everything you need to know.
Part 1
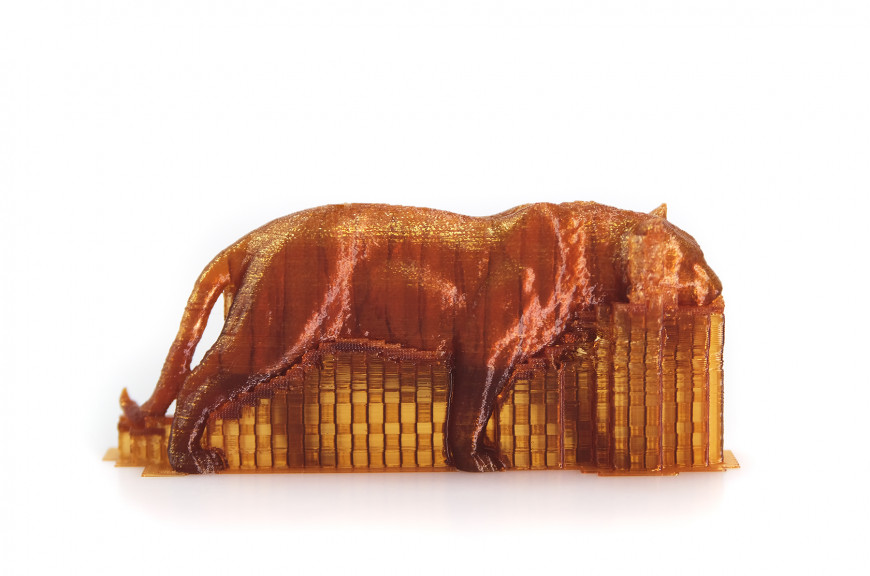
If you follow FILOALFA®'s Tips and Tricks, it means that by now you have some experience in 3d printing, so this time we'll get straight to the point, skipping the common definition of support as a "column" that prevents material from falling and related examples.
The first question to ask is to put the supports or instead make the bridges?
In the last episode of the FILOALFA® Academy we looked at how to create perfect bridges, while in this guide we will learn how to add support structures to otherwise impossible to print locations.
When to place supports?
Sometimes you can rely on good printer calibration to avoid placing supports, so you can save material (and therefore money) but more importantly printing time.
So how do I know whether or not to place supports? Just follow the ZAC rule!
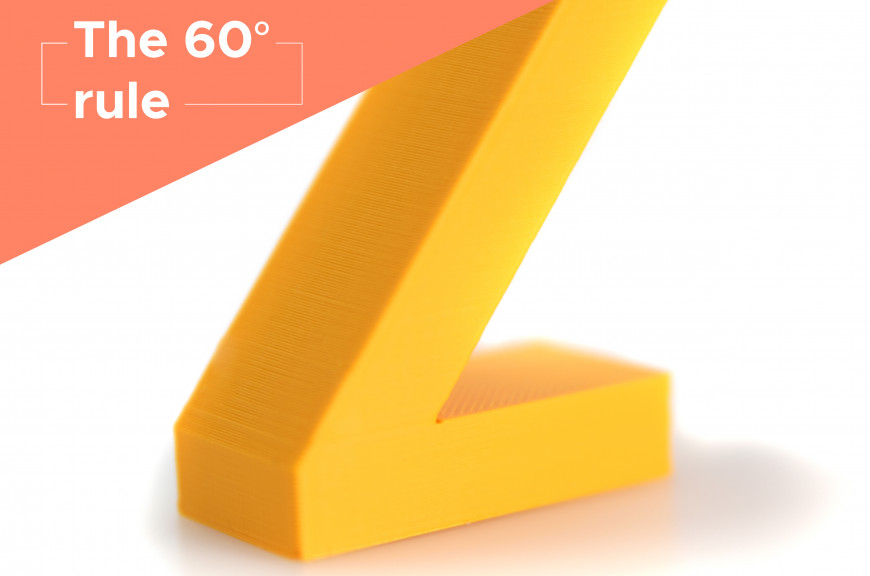
- Case Z: The diagonal walls are tilted at a fairly low angle, so most printers will be able to handle printing without supports. Instead, the cantilevered tip of the letter, as you can easily guess, will need support to be printed properly.
- Case A: The hanging bridge is relatively easy to print and is supported at both ends, so you will almost always be able to do without supports.
- Caso C: This is a special case where the angle of inclination of the walls would easily allow printing. However, the geometry of the letter has a point where the nozzle would print mid-air: at the high vertex of the C. So here a support is mandatory.
The 60° rule
If you want to avoid creating unnecessary supports, it is essential to understand the maximum angle of inclination of your object surfaces.
In fact, as we saw in the Z case, printers can handle angles of less than 60° from vertical without too much trouble.
So set the support overhang angles of 60° or more in the slicer. This way the slicer will only insert supports at points that exceed that value.
Be careful, however, this value is affected by many factors: the material, cooling, nozzle diameter, and the number of object walls.
For example, PLA is a "tolerant" material and allows for fewer supports.
ABS printing, on the other hand, will need to be set with a smaller overhang angle, around 50-55°, so that there are enough supports.
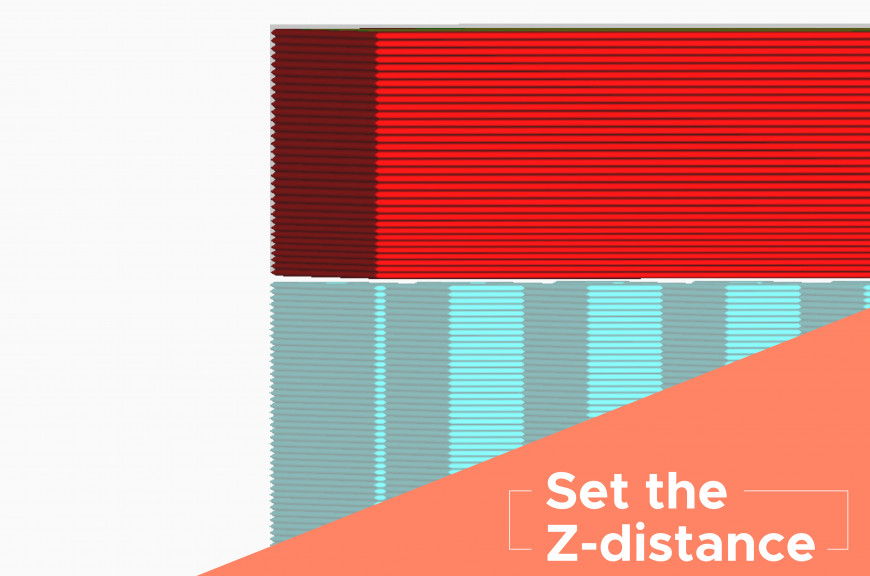
The Z-axis distance
The distance between the part to be printed and its support is the most important parameter to consider for successful object surfaces.
This distance is commonly called the Z-distance by slicers. To find the one that is right for you, you will have to balance the definition of the object walls and the ease of support removal.
If the Z-distance is high, it will be easier to separate the part from its support because there will be more air between them. However, the material deposition will be less precise, so the object will lose its definition.
In contrast, if the part-to-support distance is low, the material deposition will be more precise, but it will be more difficult to remove the support once the print is finished.
The support interface and density
Supports, such as infills, have their own density. This means that you can decide the distance between the "columns" that will support your piece.
It goes without saying that more columns will provide more support for the embossed parts and a better surface finish, but it will increase printing time and make it more difficult to remove the supports themselves.
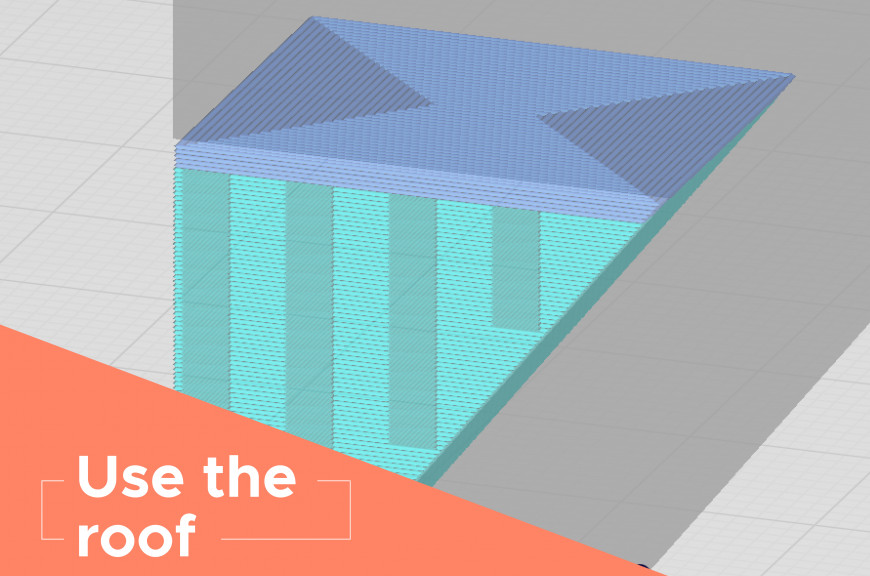
For this reason, you can print a "roof", the support interface, that will join the supports with a flat surface on top to provide more uniform support.
This feature allows you to reduce support density and printing time while still maintaining an excellent surface finish.
Beware, however, of the interface calibration: such support can be more difficult to remove than traditional supports.
Other useful tips
1. Support everywhere or just from the print plane
With the "supports everywhere" option, the slicer will place supports for each cantilevered surface, even if that means placing them on top of the model. This option generally provides the best print quality, but it can leave marks on the model. In the case of complex models it also becomes more difficult to remove the supports.
Supports only from the printing plane, on the other hand, are generally easier to remove, and they guarantee not to leave marks on the upper surfaces of the model, but they do not guarantee support for all surfaces.
2. Reorient the model differently
A final tip is to always check the orientation of the model. It may seem like a trivial tip, but often turning objects on the printing plane saves you hours of work and kilograms of filament by avoiding printing unnecessary supports.
If you want to download the 3D model "Overhang test" and find out some Pro tricks about supports, wait for the next episode of "Tips and Tricks" to come out. We will talk about XY Distance, tree and soluble supports and much more.
If you would like to be notified when Part 2 comes out, sign up for the FILOALFA® newsletter below.


